It's Amanda's turn on the blog. We did a couple shoots this summer for her senior portraits including a fun beach shoot and another in an historic district. She was a great model. So excited for her to be graduating this June and heading to college.
Showing posts with label Portraits. Show all posts
Friday, October 11, 2013
Friday, September 6, 2013
Tuesday, July 30, 2013
Beach Shoot
I'm so proud of this girl. Not only is she beautiful, but a hard worker. We had a great time while in Nags Head. Got up one morning and did this!! So much fun!
Wednesday, July 17, 2013
Eliminating Under Eye Shadows
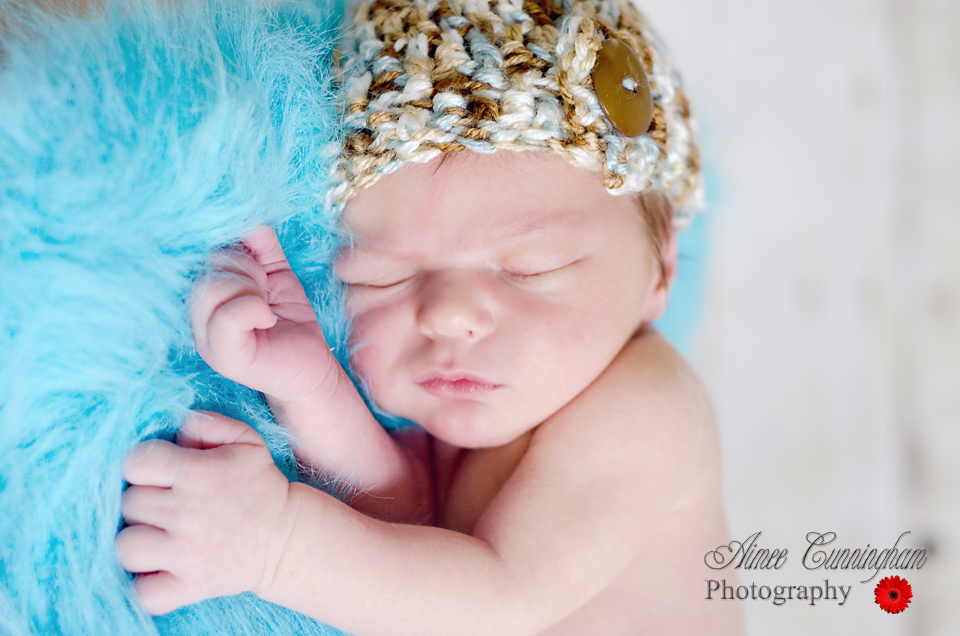
I've been using this method for reducing shadows under the eye and love the results.
Open your photo in Photoshop.
Create a new layer in your layers palette.
Select your Clone Stamp Tool and set the size to fit the shadow. On your background photo layer, using the Clone Stamp Tool, Alt-click on an area near and under the under eye shadow. When you hit Alt, you will see a little target symbol appear. Place the target on the area beneath the eye shadow and far enough away that you won't be painting the shadow back on. This duplicates the skin tone.
On your new blank layer, still using the Clone Stamp Tool, brush over the shadow area, painting in the new skin tone. You will need to adjust the opacity of this layer. I bring it down to usually between 50-75% depending on the photo keeping a small of amount of shadow showing through to keep the portrait real. On a male portrait, I usually use a lower percentage. You don't want to loose all the shadows on men. You want them to keep their masculinity. When you get it just where you want it, merge those layers. This photo was set at 65%.
Before
After
Wednesday, May 29, 2013
Senior Shoot
This young man makes photography easy with his great looks and easy-going personality! It was a pleasure working with him and his dad. Wish you the best at your new school, Jared!
Wednesday, September 5, 2012
Sugar and Spice
Baby A was almost a month old before we were able to schedule her session. But, she was so sweet and did an amazing job.
A New Baby
Little C was born in July on his momma's birthday...what an awesome birthday present. He was so fun to photograph and look at that adorable head of hair! Photos taken at 7 weeks old.
Wednesday, August 8, 2012
Family Session
I love this family. They have been good friends for many years now. We saw them through one adoption and get to be a part, hopefully, of their 3rd. They have such a heart for children and I'm blessed to be a part of their adventure.
Subscribe to:
Posts (Atom)